9-28 to 10-4
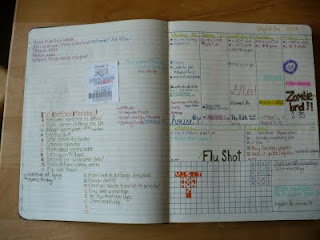 10-5 to 10-11
I am not a huge fan of this layout, I probably won't use it again.
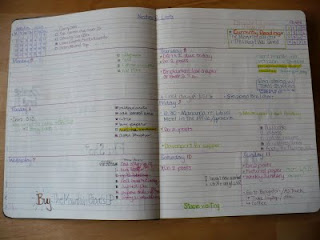 10-12 to 10-18
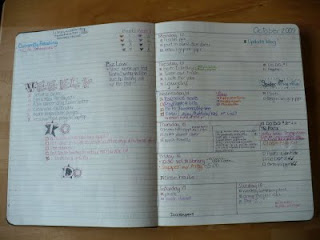 I really liked the lettering on this page, but I wish it would have turned out better. I created this by printing the words out and basically making carbon paper with pencil on the back of the printed sheet. Then I traced it onto the page and colored it in. It was far more work than it should have been. I don't know that I would do it again.
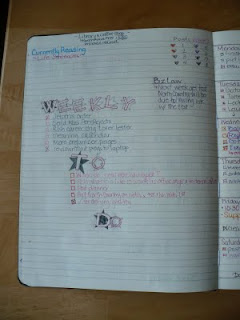 10-19 to 10-25
The curved boxes were a pain to make and then trace over so I don't think I will use this layout again.
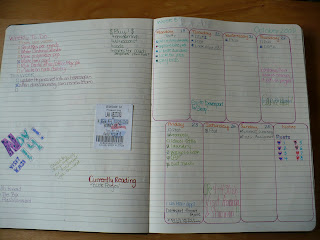 10-26 to 11-01
I used stamps that I had for this week. I liked how it turned out but the stamps were a little too big.
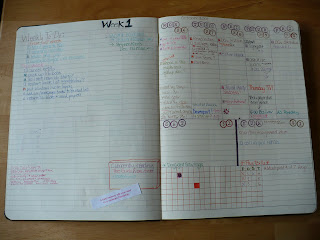 11-2 to 11-8 blank
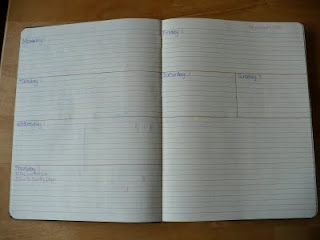 11-9 to 11-15 blank
On this one, I bought some small day of the week stamps. This worked pretty well and I thought it was nice for a change. I plan on using the stamps more often.
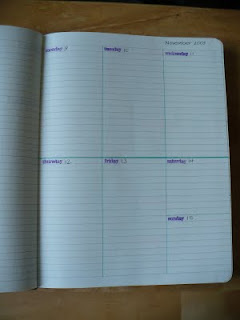 So far I have only reused one weekly layout. I feel like I have exhausted most of my ideas for new layouts, but I will keep rotating through the ones I like the most. Does anyone have any ideas for more?
I love them all! And my name is on almost every page :) Also - Pants and Ketchup on the same list???? Do you buy your pants at Sams Club?
ReplyDeleteI also use a notebook (spiral), but I simply print out calendar pages and todo lists then glue them in to the book using glue sticks. Not as nice looking as yours probably, but it works.
ReplyDeleteOh, this is fascinating! I'm totally obsessed with finding the right planner and I like what you're doing. If I understand correctly you will get the pages printed and bound after you decide on a layout? Here's one I don't think you've tried yet---use a two page spread and divide in half horizontally all the way across into top and bottom, then vertical columns in top half for days. Mon. thru Thursday on left page, Fri. thru Sunday on right page plus one spare. Bottom can be divided various ways for lists and topics or left open as free space. And where did you get the day of the week stamps? Very nice!
ReplyDeleteI love the curvy box layout, though I can definitely see how it would be a huge pain in the fanny. You've inspired me to make a hipster PDA.
ReplyDeleteI like all the layouts! The curved box is nice, though, even if it's annoying to draw (which I can understand).
ReplyDeleteKudos for creating your own planner - I like how you've shown us your process. I think I like the first incarnation best, though the stamps for the days are a nice idea.
ReplyDeleteQuestion: What is the purpose of the grid you created at the bottom of the page in sample one?
Enjoying your blog!
John,
ReplyDeleteThanks for your feedback. I also love the first layout. It was probably my favorite.
The grid at the bottom was just for fun. I thought I might doodle there and I wanted to add some additional formatting to make it more interesting. If I could have a mixture of blank areas, grid and lined in a DIY planner that would be the best, but I think it is impossible. I did manage to do it with excel but it isn't quite the same as creating in a already constructed notebook.
These are awesome planner pages. Your layouts are very creative and yet still useful. I love that you keep track of what you're reading. Great idea! Thanks for sharing your ideas.
ReplyDeleteThis is such a great idea. I always struggle to find just the kind of planner that fits my needs but I usually come up short. The reason I like this style so much is because I don't have to be wasting paper for the weeks when there really isn't anything going on that I would want to write down and I can just skip that week. Thanks for the ideas!!
ReplyDeleteI dig, dig, dig, how this changes every week! This would totally keep your planner from getting stale!
ReplyDeleteWhich Clairefontaine notbook did you buy? Will it hold a whole years' worth of weeks?
Thanks!
@Rori... Thanks! I hated when my planner got boring, I couldn't take it. I bought this notebook I think http://www.vickerey.com/pcl8809-clairefontaine-wirebound-pad-graph.html I got it from a bookstore, so I can't be for sure if this one is it. I do think it would hold a whole years worth, but I didn't get that far before I reverted to a moleskine 18 month planner because I got to busy to build pages every week.
ReplyDeleteMelinda:
ReplyDeleteHow is the Mole working for you? Laurie @Plannerisms loves that format. http://www.plannerisms.com/
Thanks for showing your different layouts! It gave me so much inspiration!
ReplyDelete